FREE WORLDWIDE TRACKED SHIPPING
Pest-Proofing Your Home During a Renovation: What to Seal Before You Close the Walls
 By Alex Carter
Seal hidden gaps before renovation walls close, time pest treatments correctly, and choose materials that make future infestations less likely
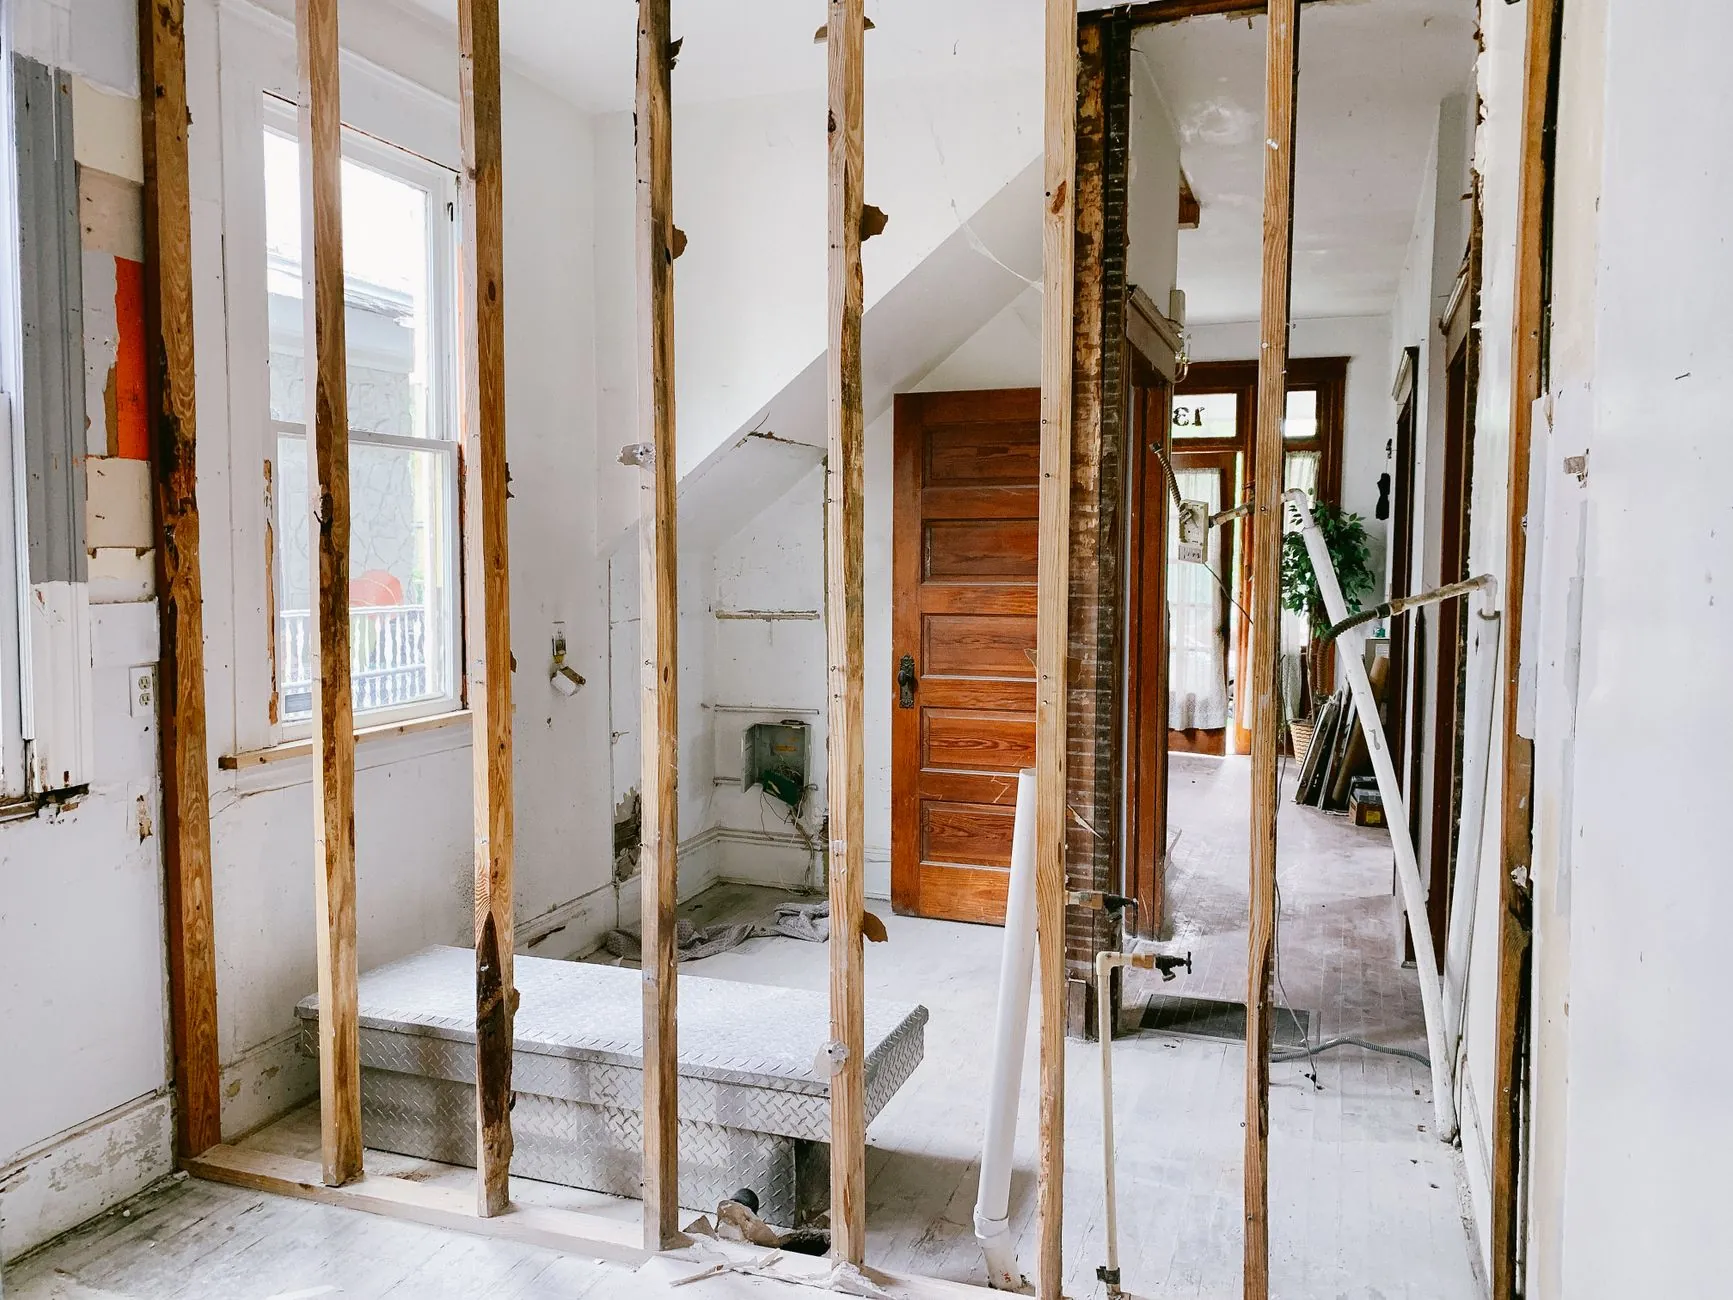
Home renovation with wall framing exposed. Photo by Monica Silvestre via Pexels.
Home renovations open up more than just your floor plan – they open up direct access points for pests to move into places they could never reach before. Once drywall goes back up or new flooring is laid down, any gaps, cracks, or untreated materials get sealed in along with the pests that found their way inside during construction. That’s why the renovation phase, not move-in day, is the real window for pest prevention.
For a broader year-round approach, see our guide to preventing pest problems before they start.
Why Renovations Attract Pests
Construction disturbs existing nests and colonies in walls, attics, and crawl spaces, sending displaced pests looking for new shelter. Open walls, temporary gaps around new windows or doors, and exposed insulation all create easy entry points. Stacked lumber, drywall scraps, and other job site debris also give rodents and insects places to hide undisturbed for days or weeks at a time.
Seal These Areas Before Closing the Walls
Before any wall goes back up, it’s worth inspecting and sealing the following: gaps around new plumbing or electrical penetrations, which are one of the most common ways rodents and insects travel between floors and wall cavities; utility line entry points where cables, vents, or pipes pass through exterior walls, since even a half-inch gap is enough for a mouse to squeeze through; foundation cracks and sill plate gaps, which are frequently exposed during renovations involving flooring or basement work; and window and door frame perimeters, especially if the renovation includes replacing either, since uncured caulk or foam can shrink and leave hidden gaps.
Using a rodent- and insect-rated sealant rather than standard caulk makes a real difference here, since regular caulk is not designed to resist gnawing.

Timing Pest Treatments Around Construction
Treating for pests too early or too late in a renovation wastes both time and money. The most effective approach is to treat in stages. Before demolition, address any known infestations so pests aren’t just displaced into other parts of the home. During the framing or rough-in stage, once walls are open but before insulation and drywall go in, is the ideal time for a preventive perimeter treatment, since this is the last point of access before everything is sealed. After the final walls and finishes are complete, a final inspection helps confirm no pests were sealed in accidentally and no new gaps were missed.
Scheduling an inspection at the framing stage specifically is one of the most overlooked steps in a renovation timeline, yet it’s the easiest point to catch problems before they become permanent.
Material Choices That Deter Pests
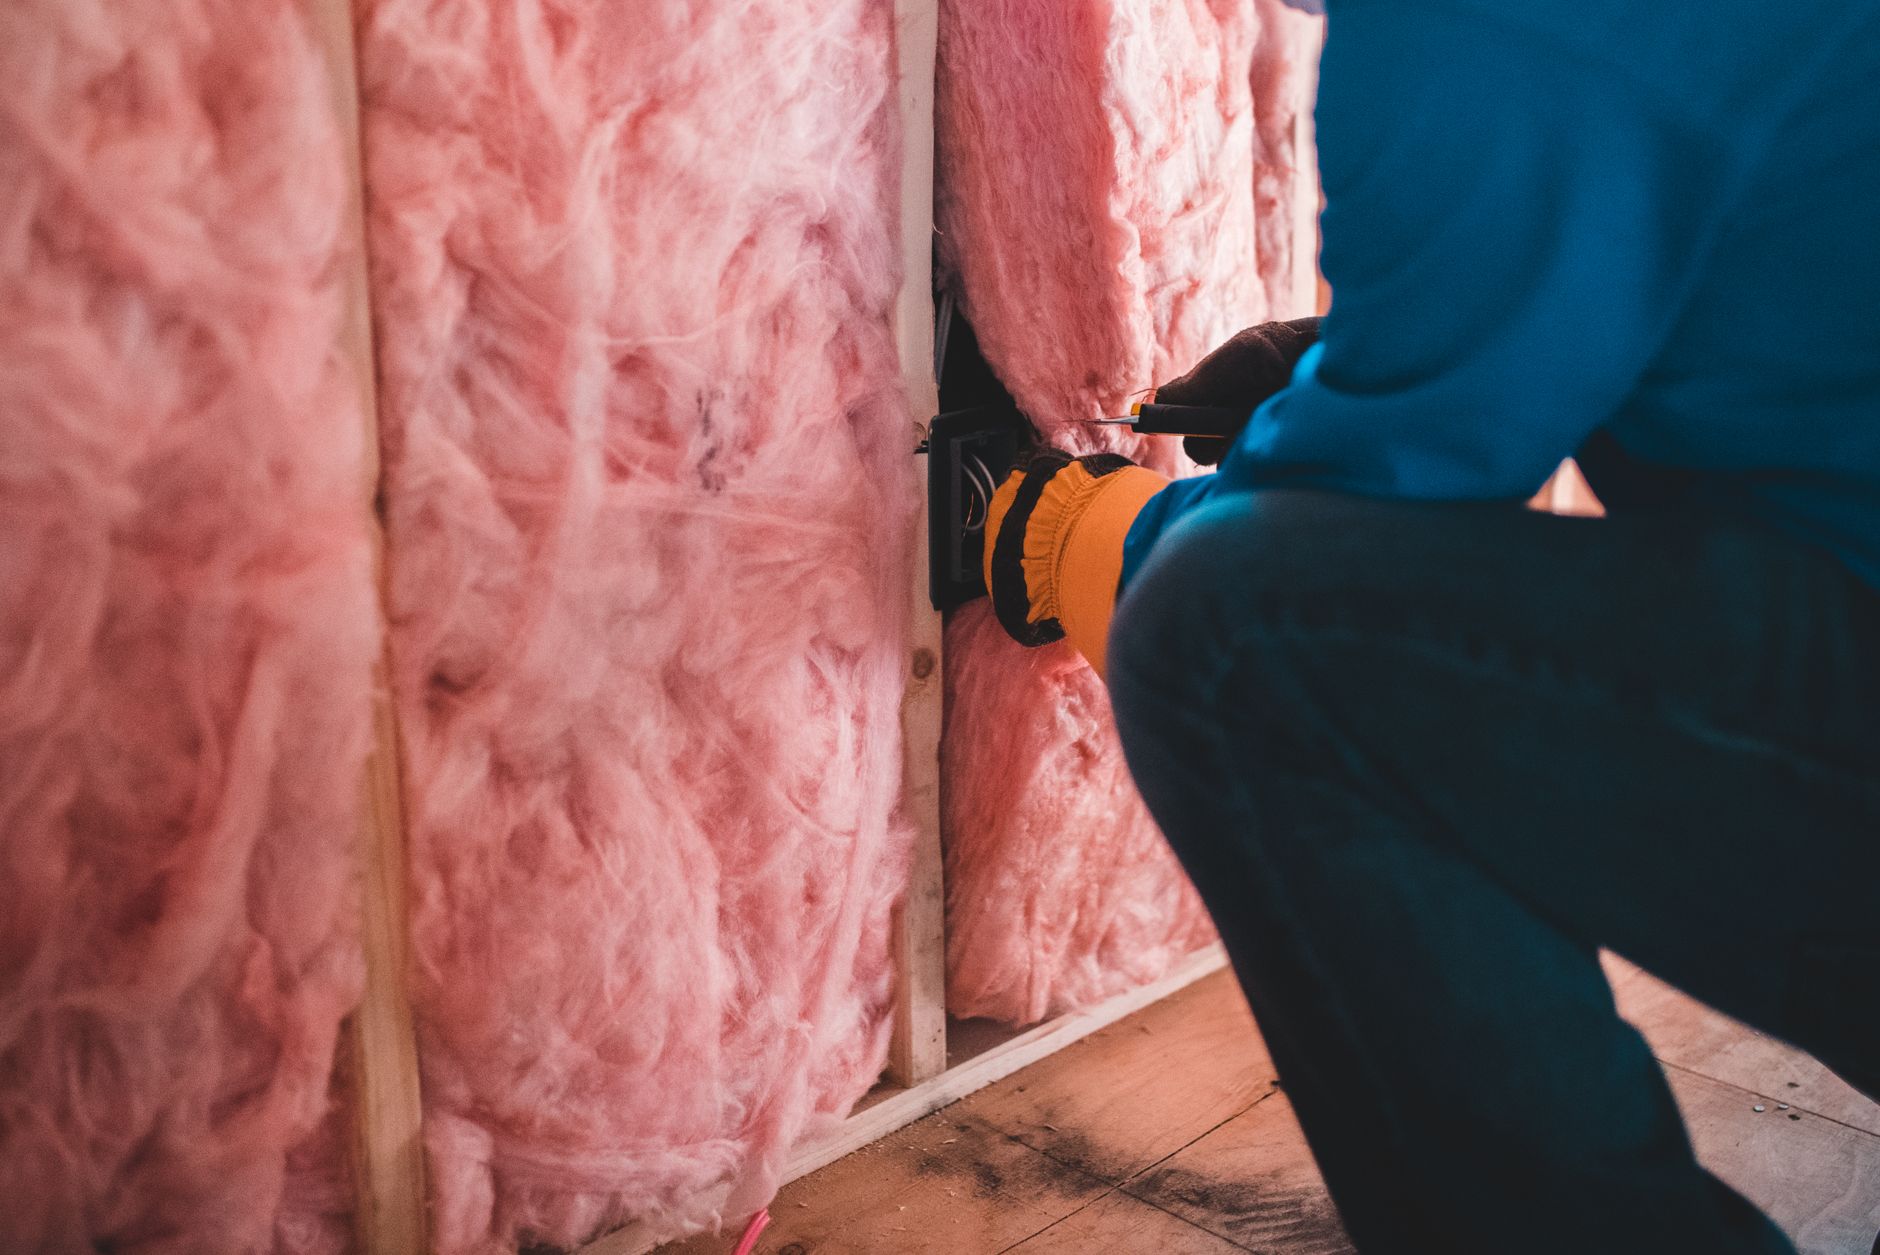
Some renovation material choices naturally reduce future pest risk. Fiberglass or mineral wool insulation is far less attractive to rodents than cellulose-based insulation, which some pests will nest in or feed on. Metal or composite trim around ground-level areas holds up better against termites and carpenter ants than untreated wood. Rodent-proof mesh, rather than standard screen material, is worth using in any vents, soffits, or crawl space openings that are part of the renovation. Concrete or metal-based thresholds also stand up better than wood at ground-contact points, where moisture and pest pressure are both highest.
A Simple Pre-Close Checklist
Before the walls go back up, it’s worth confirming a few key items: all plumbing and electrical penetrations are sealed with a rodent-rated material, exterior gaps around new doors, windows, and utility lines are fully closed, no exposed food sources or debris are left inside wall cavities or crawl spaces, insulation type has been reviewed for pest resistance, and a professional inspection has been scheduled for the framing stage if it hasn’t happened already.
Common Mistakes Homeowners Make
A few missteps show up again and again during renovation projects. Some homeowners treat for pests only after finishing touches are complete, which means any pests already sealed inside the walls are left undisturbed rather than removed beforehand. Others rely on general-purpose caulk or foam instead of rodent-rated sealant, which looks fine at first but doesn’t hold up once gnawing pressure is applied. It’s also common for job site debris, like offcuts of wood or drywall, to sit against the foundation for weeks, creating a food and shelter source right at the building’s most vulnerable entry point. Skipping a framing-stage inspection is probably the biggest one, since it’s the only point in the whole project where every gap is fully visible before insulation and drywall cover it up for good. None of these mistakes are hard to avoid, but they do require planning pest control into the renovation schedule itself rather than treating it as an afterthought once the work is finished.
The Bottom Line
Pest prevention during a renovation is far cheaper and easier than dealing with an infestation after the walls are finished. A few sealed gaps and one well-timed inspection can prevent months of hidden damage. If you’re partway through a renovation and want a second set of eyes on entry points before you close everything up, working with Top Line Pest Control at the framing stage is one of the simplest ways to make sure nothing gets sealed in – or left out.











 Blankets and Throws
 Home Accessories
 Furniture
 Rugs
Rugs Cushions
 Kitchen
 Cutlery and Dinnerware
 Drinkware
 Table Mats and Coasters
 Dining Accessories
 Tablecloths and Napkins
 Decorative Items
 Vases and Planters
 Wall Decor
 Bathroom Accessories
 Bathroom Storage
 Bath and Shower Mats
 Towels